


| Tutorial: GettingStarted with DevC++ |
|
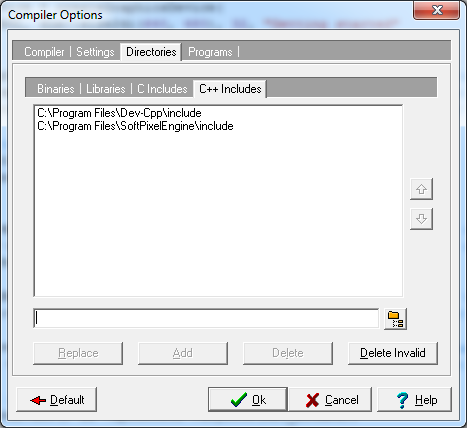
In this tutorial I will only explain how to setup DevC++ but not the code of the getting started tutorial. If you also want to learn something about the code in this example please read the first tutorial: "GettingStarted with Code::Blocks". You can download the latest DevC++ version at softonic.com. Downside to DevC++ is that it is no longer being developed. After downloading and installing DevC++ we configure the include directories. Go in the menu to "Tools"/ "Compiler Options" and click the "Directories" tab and then the "C++ Includes" tab. There you can add the default include directories. Enter the directory path and click the "Add" button. Here is an example image:
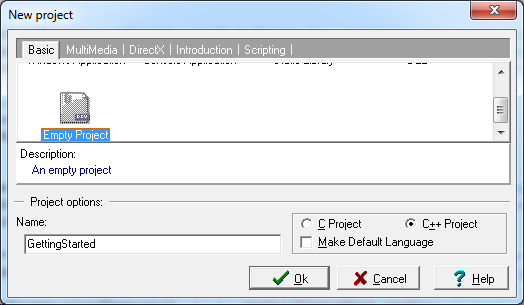
 That's all for compiler options. Now go in the menu to "File"/ "New"/ "Project...". Click the "Empty Project" entry in the category "Basic". You can also set the project's name under the "Project options" frame. Here is an example image:
 After saving the project (e.g. "GettingStarted.dev") go in the menu to "Project"/ "Add to Project" and choose the "main.cpp" file. Then go in the menu to "Project"/ "Project Options" where you can set the project name and the type of application. Here is an example image:
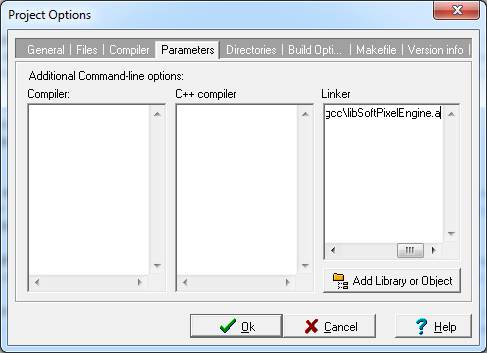
 The last thing we need to do is to link the library to our project. Stay in the project options window and click the "Parameters" tab. Click the "Add Library to Object" button and choose the "libSoftPixelEngine.a" file in the "lib\Win32-gcc\" folder of the SDK or enter the full path manual in the "Linker" editor field e.g. "C:\Program Files\SoftPixelEngine\lib\Win32-gcc\libSoftPixelEngine.a". Here is an example image:
 That's about it ;-). Now you should be able to compile the program by pressing "F9" (with default configuration of DevC++) If you have questions please join our community. |